Getting started in under 15 minutes
This guide helps new users set up the app quickly while keeping family roles and patient scope clear from day one.
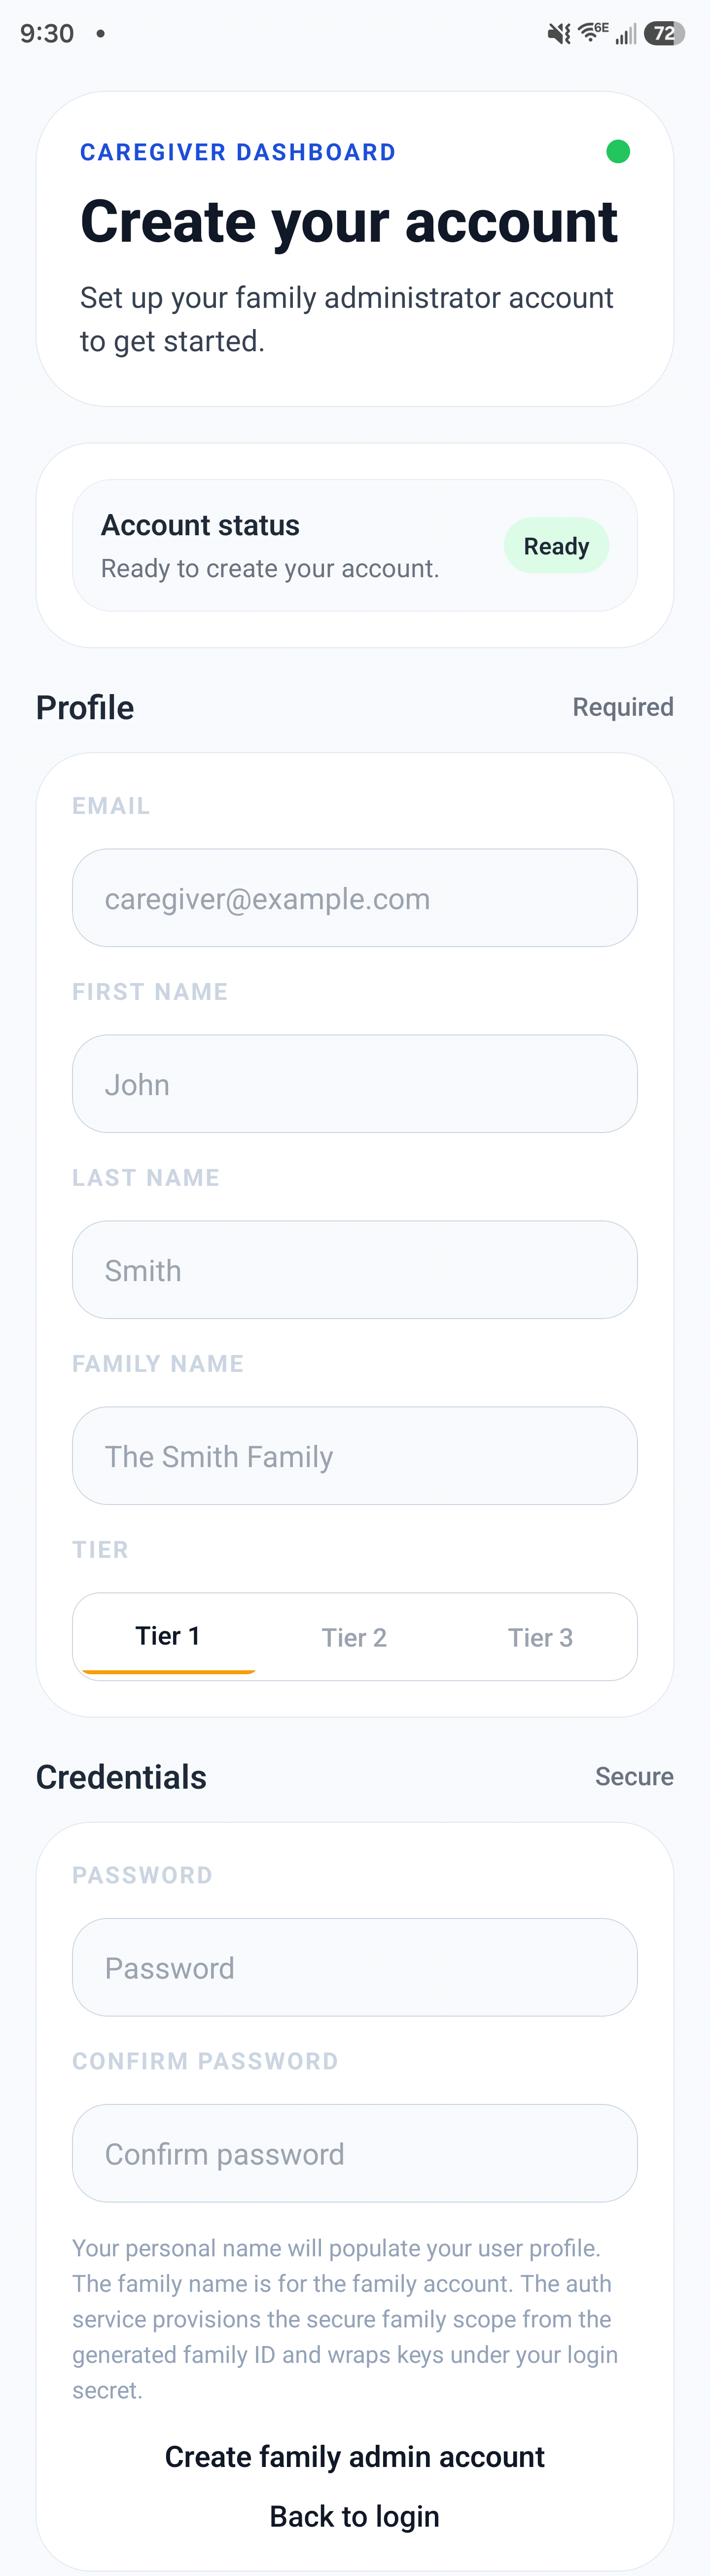
Create account flow: a family admin sets up the initial account profile and tier selection.
Step-by-step setup
- Create your account and verify your email.
- Choose your tier based on your care model: personal, family team, or independent multi-patient caregiving.
- Add your first patient profile with complete name and preferred contact details.
- Set your role correctly: family admin, member caregiver, or independent caregiver (Tier 3).
- Only family admin can invite users in family accounts.
- After the invitee starts accepting the invitation, they should tell the inviter so the inviter can synchronize and generate the encryption envelope needed to provision the invitee and complete sign-in.
- Invite one trusted collaborator and confirm they can view the same timeline.
Activate access with a partner or program code
Use these steps when an organization, agency, pilot, or approved program gives you a voucher code instead of a store subscription.
- Create your account, verify your email, and sign in.
- On the access screen, select Have a Partner or Program Code?
- Enter the organization code exactly as provided, then select Activate Access.
- Confirm the sponsored organization, tier, and Valid until date shown by the app.
- Select Continue to open the dashboard.
Only the account owner can activate a partner or program code. Successful activation applies access to the family account, not just the person who entered the code.
Why each step matters
- Email verification confirms account ownership before sensitive data appears.
- Tier selection defines which workflows and selectors are shown in the app.
- Reminders follow the device timezone, so accurate device time settings prevent missed care events.
- Role assignment controls who can invite users and edit critical settings.
- Invitation acceptance starts the handoff: the inviter's synchronization generates the encryption envelope, which provisions the invitee and allows them to complete sign-in.
- Partner access is resolved after authentication, so the account owner can see the correct sponsored tier and expiration date before entering the dashboard.
Invitation timing tips
- Invitee tip: tell the inviter when acceptance begins so they can synchronize while the acceptance flow is active.
- Inviter tip: synchronize after the invitee begins acceptance to generate the encryption envelope and provision the invitee for sign-in.
- They do not have to perform these actions at exactly the same time. If the inviter cannot synchronize immediately, the system retries automatically at the next synchronization or when the app regains focus.
Example onboarding flow
Scenario: A daughter creates a Tier 2 family account for her father and invites two siblings. She remains family admin, each sibling gets caregiver access, and all three can document medications in one shared timeline.
Common mistakes to avoid
- Creating duplicate patient profiles for the same person.
- Ignoring device date/time settings and notification preferences.
- Inviting users before confirming the account tier is correct.
- Entering a voucher before creating and verifying an account, or sharing a code in screenshots, tickets, logs, or chat.
Tip: Finish core profile and role setup before adding many collaborators.